Connecting to Wi-Fi
The Wi-Fi connection is solely dedicated to our Snap-on Web Services Network.
|
Video Instructions |
|
|
|
SOLUS+, SOLUS Edge, MODIS Edge, |
|
|
SOLUS Legend |

| 1. | To connect, turn on the diagnostic tool and allow it to bootup. |
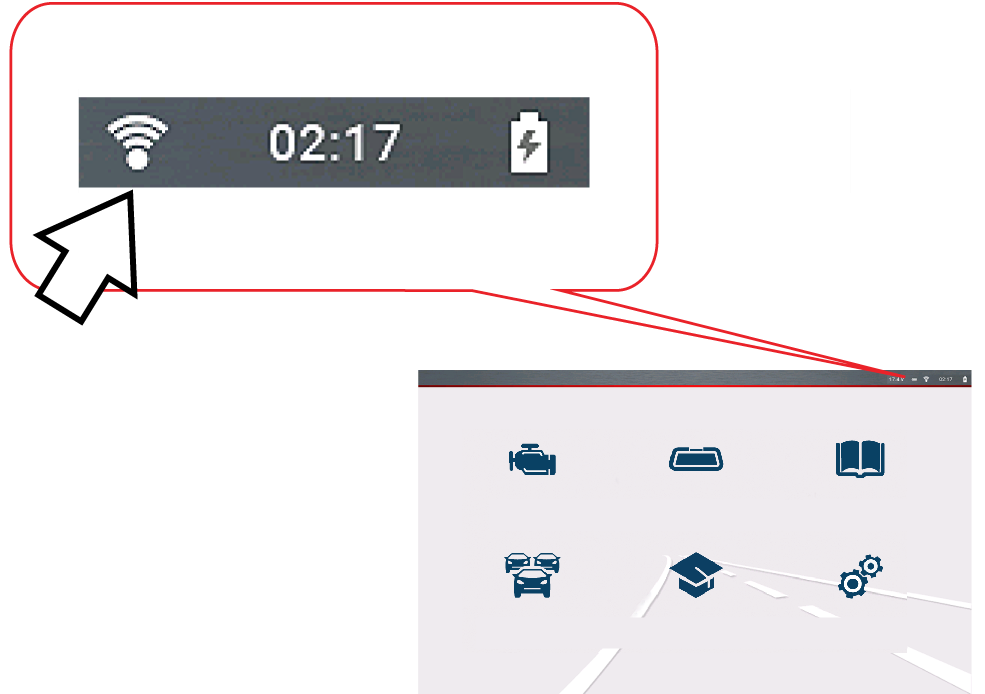
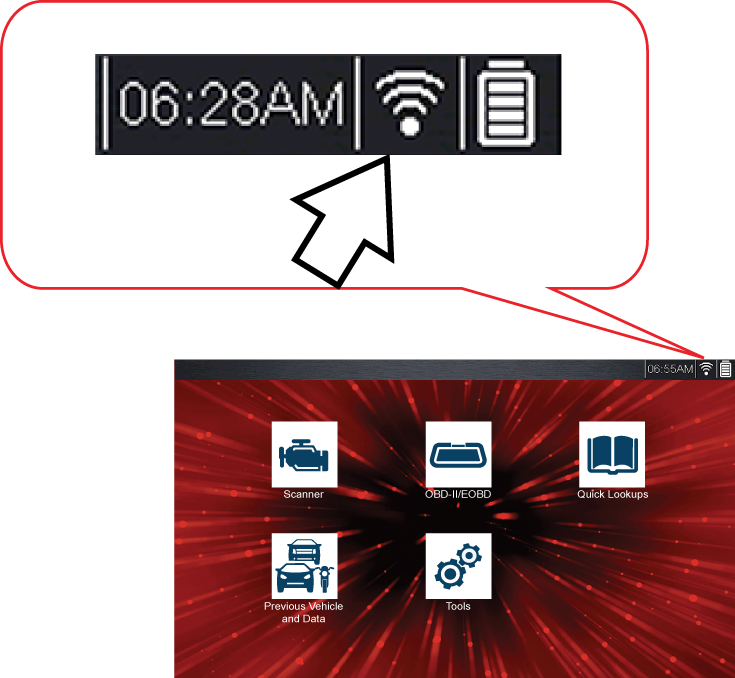
| 2. | After bootup, check to make sure the Wi-Fi icon  in the upper toolbar is displayed and the bars are not flashing. in the upper toolbar is displayed and the bars are not flashing. |
| ● | If it displays (bars not flashing) , you're already connected just check your signal strength (bars) to make sure you have a strong connection. |
| ● | If the icon does not display, continue to the next step. |
| ● | If the bars are flashing Wi-Fi is trying to connect. Wait for the connection to complete (solid bars), or check your connection, continue to the next step. |
Graphics and screens will vary. Images shown are typical.
|
|
1 to 3 solid bars - Wi-Fi is on and connected to a network. |
|
|
Flashing (may include "?") - Wi-Fi is on, but not connected / searching for connection. |
|
|
No bars - Wi-Fi is on, but no signal / out of range. |


| 3. | From the Home Screen, select Tools > Settings > Configure Wi-Fi. |
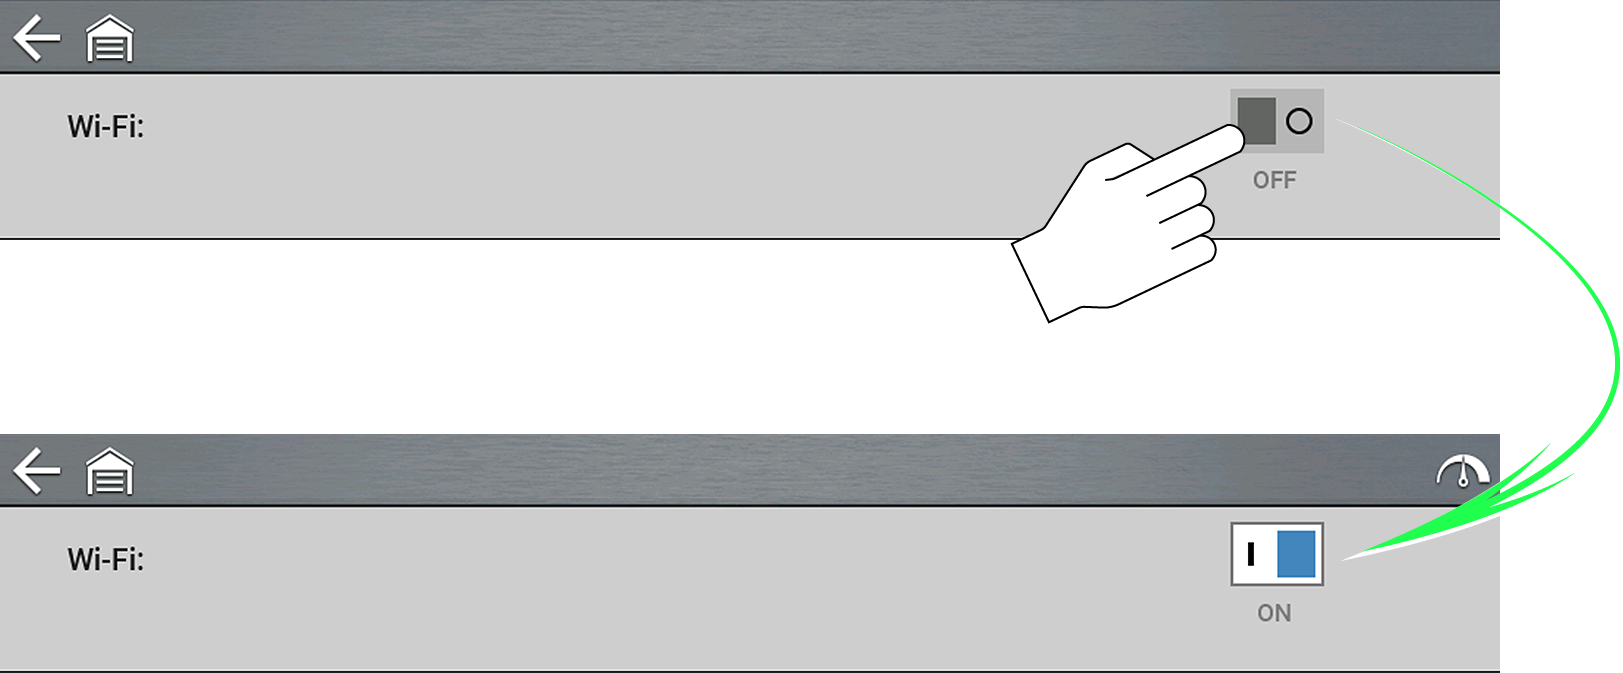
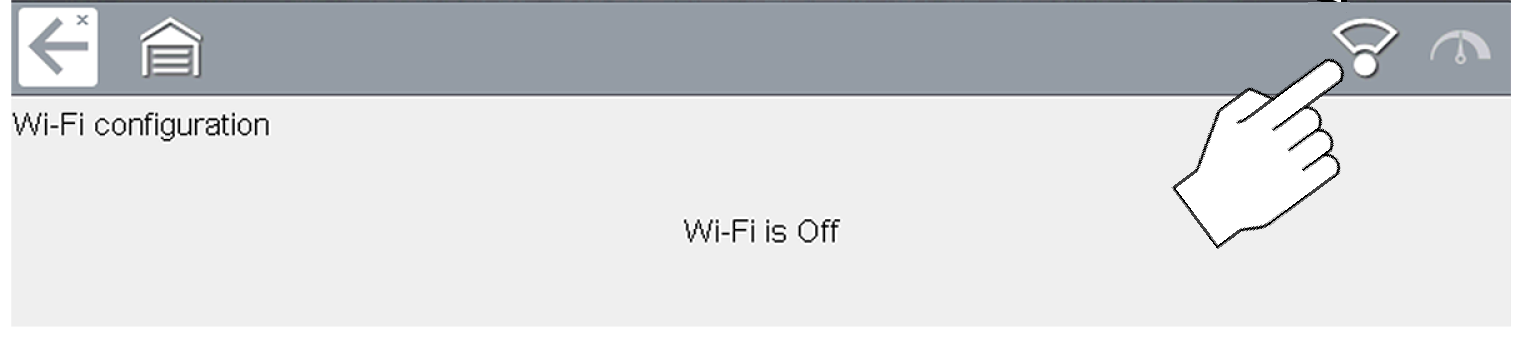
| 4. | Select the Wi-Fi power icon to turn Wi-Fi on. |
Graphics and screens will vary. Images shown are typical.
| 5. | Select your network from the available networks. |
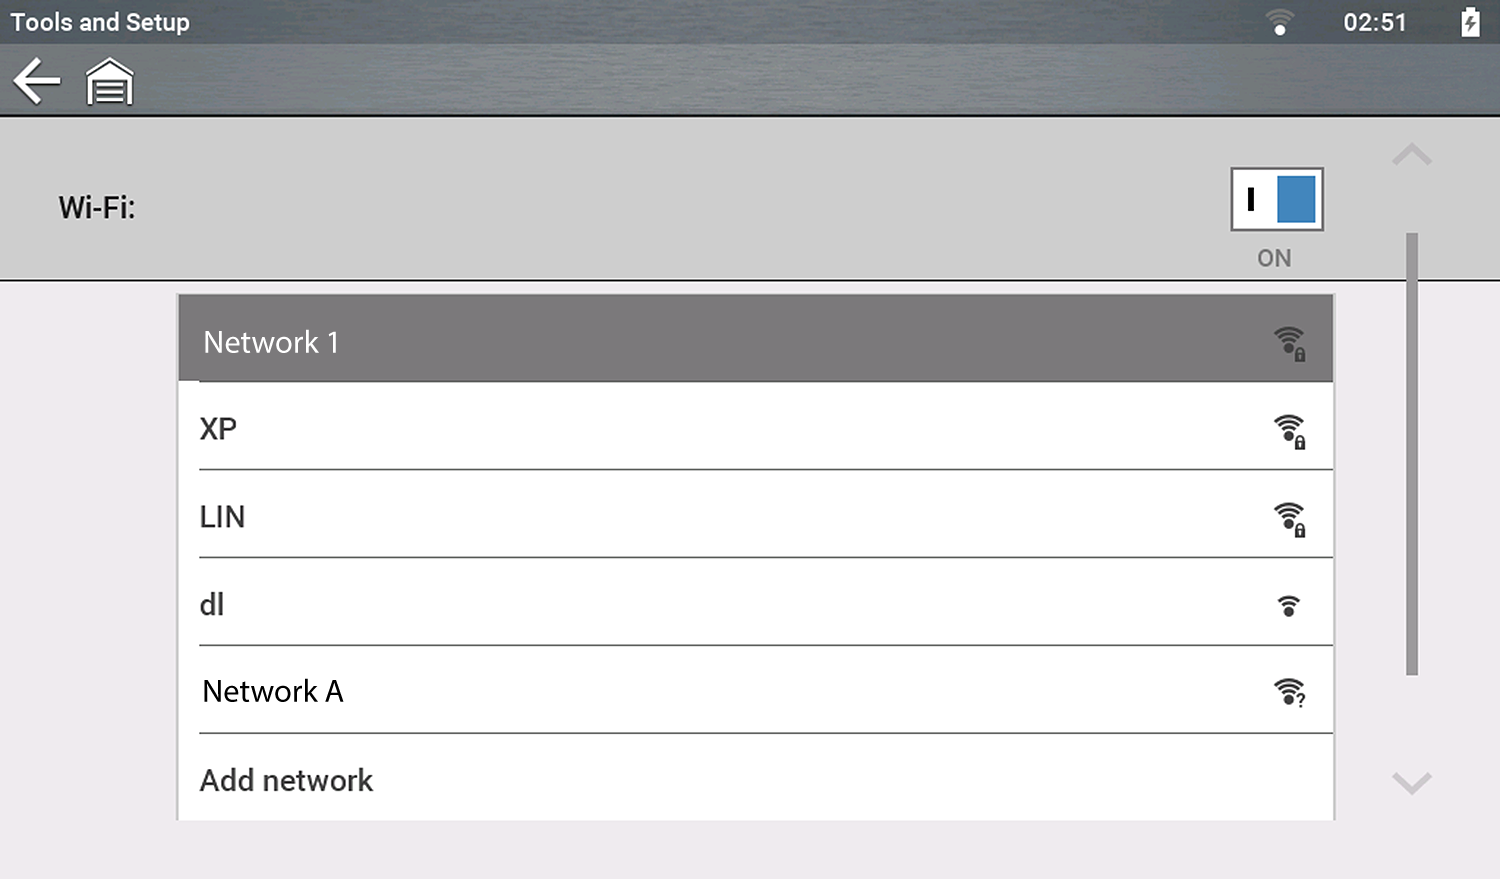
A password is required when choosing a secured (protected) network. Networks with a proxy, challenge page, or that require the user to accept terms of usage are not supported. Wi-Fi performance varies depending on your wireless network equipment and ISP. Enter the required password and press Next, or select Connect to continue.
| 6. | Select OK to connect. |
| ● | If “Not Connected” is displayed, try to reconnect or see Built-in Wi-Fi Testing for additional information. |
Once connected, your Snap-on Cloud registration information is displayed, for more information see Snap-on Cloud (opens new tab).
 WPA2 and WPA3 Support Information (Mobile Device Connection)
WPA3 Wi-Fi encryption is not supported.
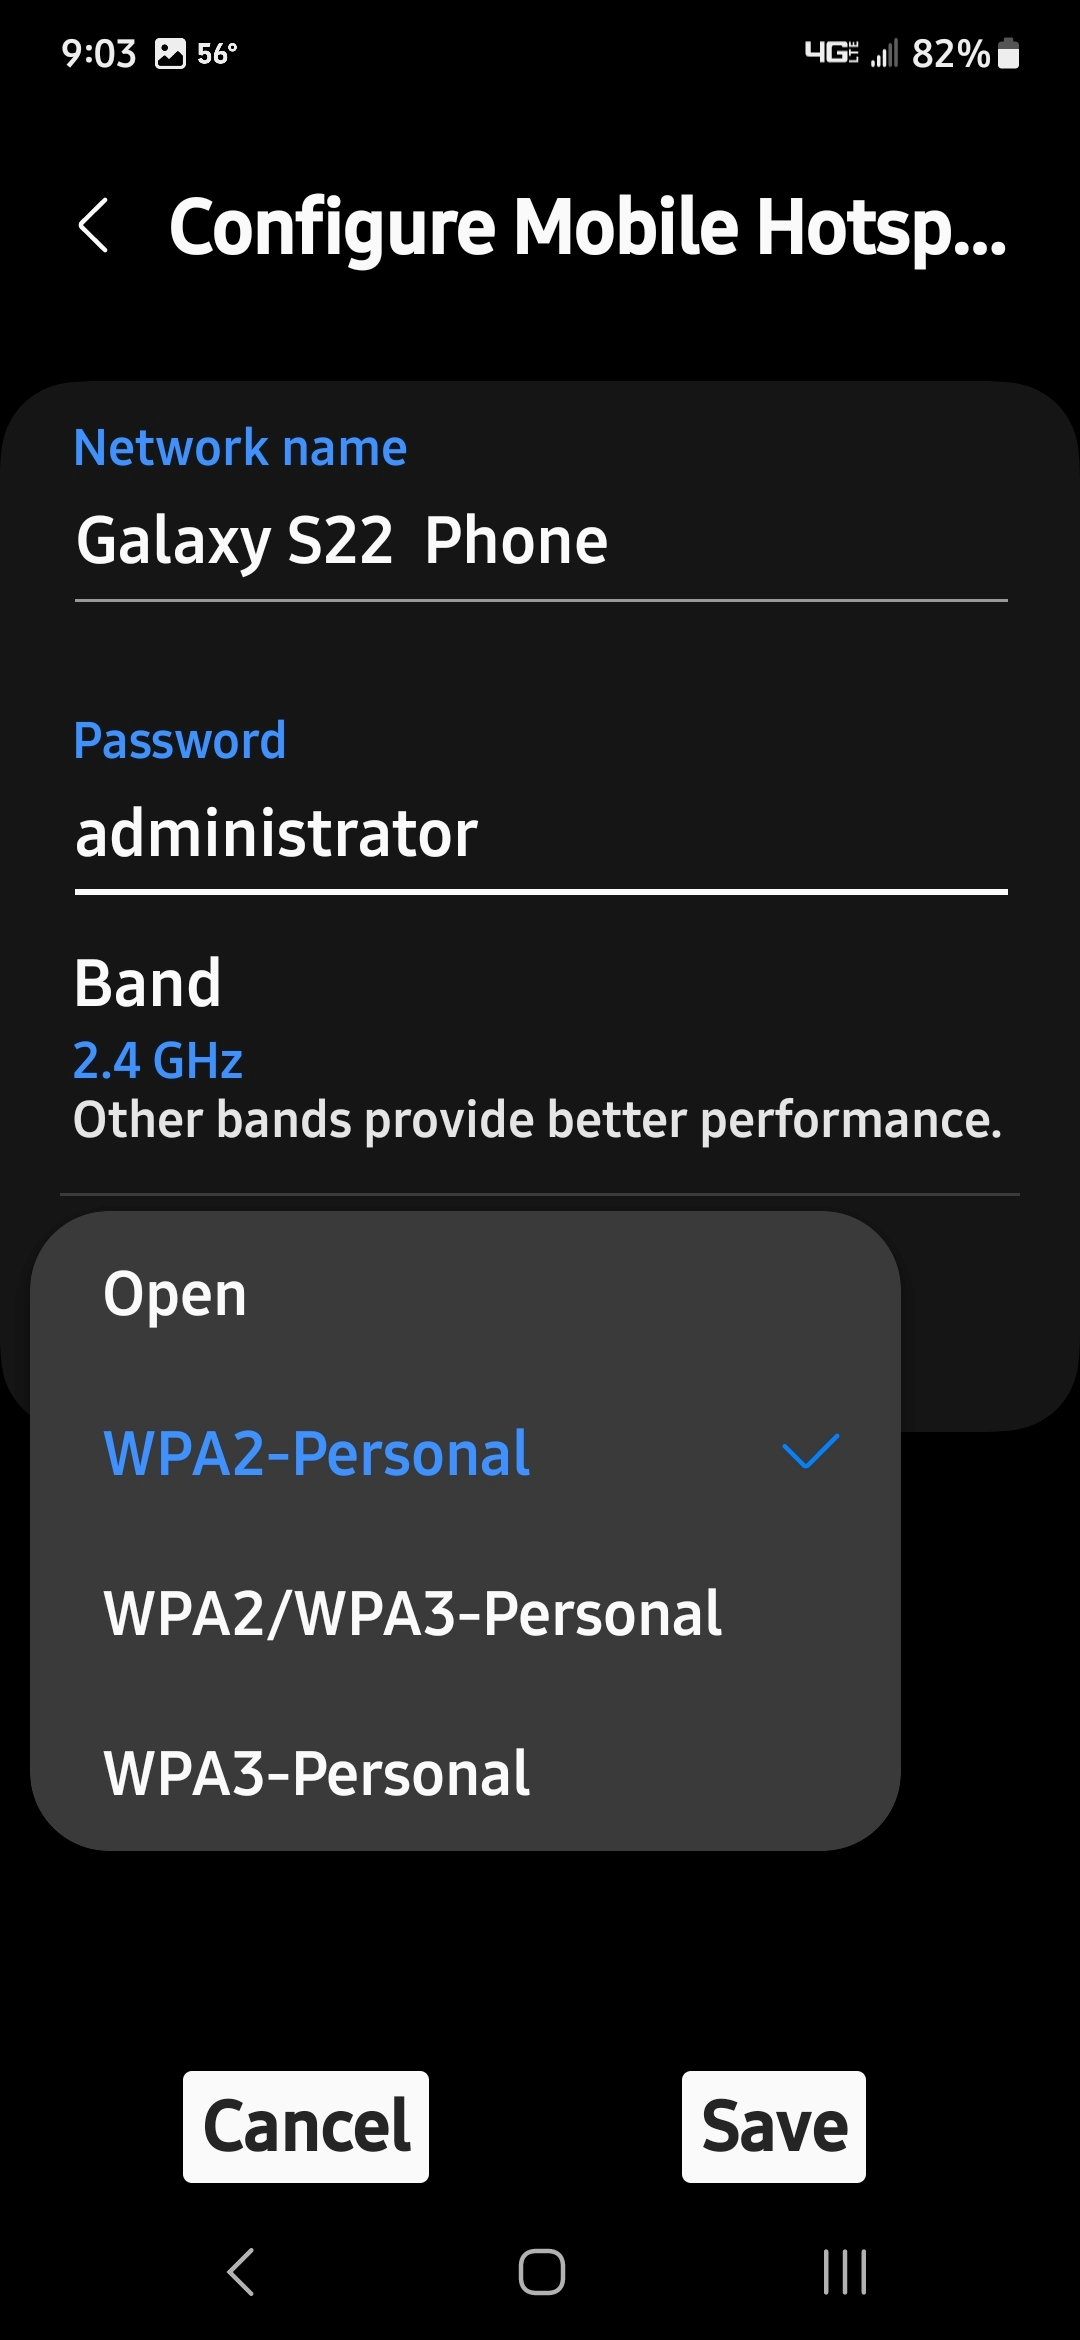
When setting up your WI-Fi connection, ensure it is configured to use only WPA2 (Not WPA2/WPA3 or WPA3 or any similar combination).
Mobile device hot spot connection guidelines:
iOS (Typical)
| 1. | Click on “Settings”  |
| 2. | Click on “Personal Hotspot”  |
| 3. | Turn ON “Maximize Compatibility” 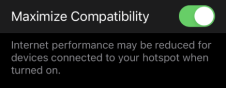 |
Android (Typical)
| 1. | Click on “Wi-Fi Settings” |
| 2. | Click on “Configure Mobile Hotspot” |
| 3. | Select “WPA2-Personal” |
Add Network Advanced (Connecting to a hidden network)
The Add Network selection allows you to connect to a network that is not broadcasting its name (not visible in the displayed network list). These networks are also known as "hidden" networks.
To connect to a hidden network you will first need to know the following:
| ● | Network Security Type |
| – | Open (only need SSID) |
| – | WPA or WPA2 (Pre-shared key) |
| – | Note - WEP encryption is NOT supported |
| ● | Network name or SSID (Service Set Identifier) |
| ● | Network Password |
Home Screen > Tools > Settings > Configure Wi-Fi
| 1. | To connect, select Add Network Advanced from the available network list. |
| 2. | Select security type Open, WPA, or WPA2. Refer to the router user manual or your IT administrator to determine the type. |
| 3. | Enter the network name or SSID |
| 4. | Enter the network password and press Next. |
| 5. | Select OK to connect. |